wikiHow is a “wiki,” similar to Wikipedia, which means that many of our articles are co-written by multiple authors. To create this article, volunteer authors worked to edit and improve it over time.
The wikiHow Tech Team also followed the article's instructions and verified that they work.
This article has been viewed 15,702 times.
Learn more...
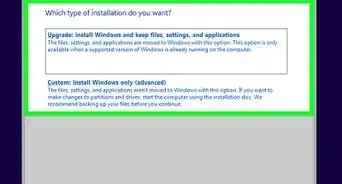
Windows 10 brings back the Start menu, and it's improved. It takes aspects from the Windows 7 Start menu and the Windows 8 Start screen. If you're using tablet mode, full screen Start is enabled by default. Non-tablet mode users can enable the full screen menu with the flick of a switch. Start with step 1.
Steps
-
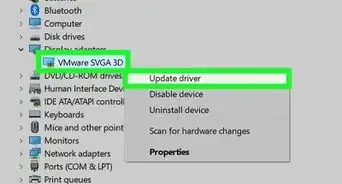
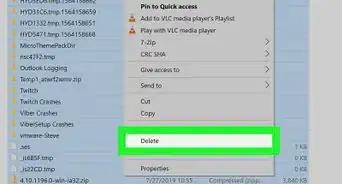
1Open the Settings app. This can be done through the Start menu. Follow these steps:
- Click or tap the Start button
- Select the settings gear in the lower-left corner.
-
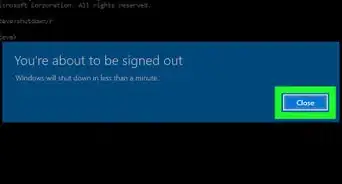
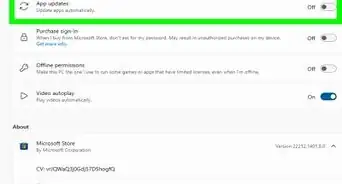
2Navigate to the Personalization settings. Select Personalization from the category list.Advertisement
-
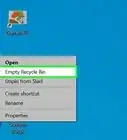
3Click or tap Start from the left pane. It's second from the bottom.
-
4
-
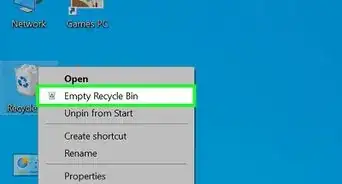
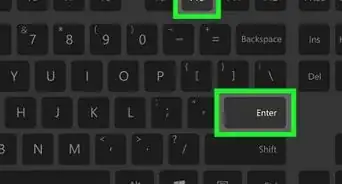
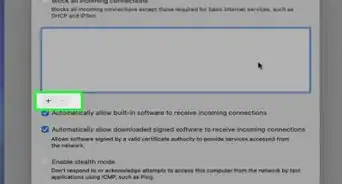
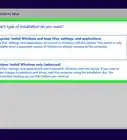
5Test it out. Open the Start menu and you'll see tiles take up the entire screen. It's different from the Windows 8 Start screen. For example, the power, user, app list are to the left as well as extra tiles will be pushed down instead of to the right (no more horizontal scrolling).
- The entire taskbar will still be visible and usable. You'll be able to see everything, including the notification center icons and the search bar/icon (unless you've disabled it).


Things You'll Need
- Device running Windows 10 (activated)
-Step-17.webp)
About This Article
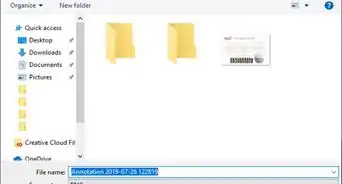
1. Open Settings.
2. Click Personalization.
3. Click Start from the left sidebar.
4. Toggle on Use Start full screen. You might need to scroll down.


-Step-17.webp)