This article was co-authored by Natasha Dikareva, MFA. Natasha Dikareva is a San Francisco, California based sculptor, and installation artist. With over 25 years of ceramics, sculpting, and installation experience, Natasha also teaches a ceramic sculpture workshop titled "Adventures in Clay" covering concept development, hand-building techniques, texture, and glazing techniques. Her work has been featured in solo and group exhibitions at the Beatrice Wood Center for the Arts, Abrams Claghorn Gallery, Bloomington Center for the Arts, Maria Kravetz Gallery, and the American Museum of Ceramic Art. She has taught at the University of Minnesota and the American Indian OIC School. She has been awarded the Excellence Award at the 1st World Teapot Competition, Best in Show at the 4th Clay & Glass Biennial Competition, and a Grand Prize at the American Museum of Ceramic Art. Natasha holds an MFA from the University of Minnesota and a BFA from Kiev Fine Arts College.
wikiHow marks an article as reader-approved once it receives enough positive feedback. In this case, 100% of readers who voted found the article helpful, earning it our reader-approved status.
This article has been viewed 302,662 times.
There are many types of sculpture but they can generally be split into two camps: addition sculpture where material is largely added on to create the form (clay, wax, cardboard, papier mache, etc.) and reduction sculpture where material is entirely taken away in order to create the form (stone, wood, ice, etc). This tutorial will give you the basic on both forms, so that you can get on your way to reveal your inner Michelangelo. Just get started with Step 1 below![1]
Steps
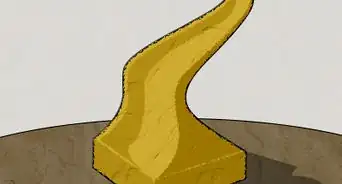
Additive Sculpture
-
1Sketch your sculpture. Always draw out the sculpture you plan on making first. It doesn't have to be a great drawing, but it should help you get an idea of where everything goes and how the shapes will meet up. Draw the sculpture from multiple angles. You may want to draw a more detailed sketch as well, for areas that are highly detailed.
-
2Create a base. If your sculpture will have a base, it's a good idea to build that first and build the sculpture on the base. The base will be less structurally sound if added later. You can build a base from wood, metal, clay, stone, or any other material you want.Advertisement
-
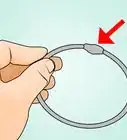
3Build an armature. "Armature" is a word sculptors use that just means "support structure". It's like the bones for your sculpture. It keeps pieces from breaking off and while not every part of your sculpture will need an armature, it's important for pieces like arms or legs, which move away from the body and are easy breaking points.[2]
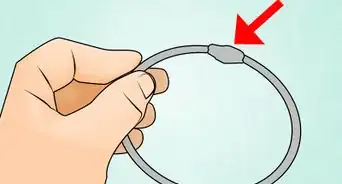
- Armatures can be made out of thin or thick gauge wire, plumping pipes, PVC pipe, lumber, sticks, dowels, blocks of clay, or any other material that works for you.
- Generally, start with the "spine" of the piece and create branches for the "limbs". Using your design sketch can be helpful for forming the armature, especially if the sketch was made to-scale.
- Anchor the armature in or to the base before continuing.
-
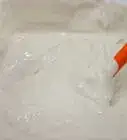
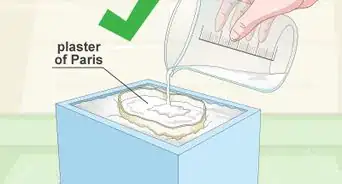
4Fill in the basic form. Depending on what your sculpture will be made out of, you may want to form an underlayer with a different material. This is most common when sculpting with polymer clay. An underlayer can help reduce materials cost and weight, so consider using one.
- Common materials are newspaper, tin or aluminum foil, masking or painter's tape, and cardboard.
- Loosely tape or join this filler material to your armature, forming just the basic shapes of your sculpture. You want to leave yourself room to build with your final sculpting material, though, so don't go overboard!
-
5Move from large forms to smaller ones. Start adding on your sculpting material. Start by creating the largest pieces (the "large muscle groups") to the smallest ones (the "small muscle groups"). Go from larger details to smaller ones. Add on and take away material as necessary, but avoid taking away too much material, as it can be difficult to add it back on.[3]
-
6Add in details. One the general form seems complete, start blending, carving, and generally creating the finer details. These are items like hair, eyes, the outlines and curve of muscles, fingers, toes, etc. Detail your sculpture until it looks fairly finalized.[4]
-
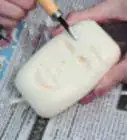
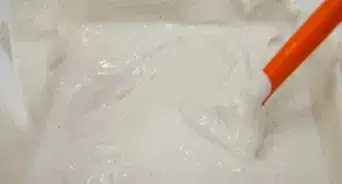
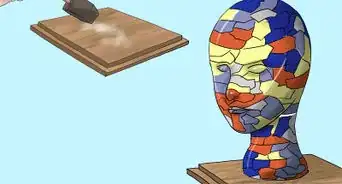
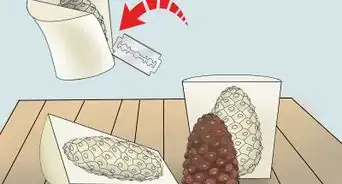
7Add in textures. The final step in the actual sculpting is to add textures to your sculpture, if you want to. This is important for creating a more realistic look, but isn't necessary if you want to work in a different style. You can use sculpting tools to add texture or you can create your own from household tools.[5]
- With proper tools, the general rule of thump is that the smaller the tip, the finer the detail that tool is meant to create. Looped tools are for scraping off clay and any cutting edge is for pretty much what you would think it would be for.
- You can fashion your own tools from tin foil balls, black peppercorns, toothbrushes, toothpicks, necklace chains, ball bearings, combs, sewing or knitting needles, knives, etc.
-
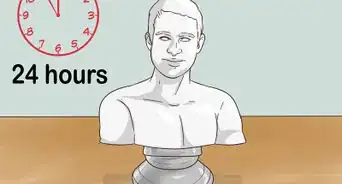
8Cure your sculpture. You will need to bake your sculpture or allow it to dry, whichever is appropriate for the material you chose. Follow the manufacturer's instructions for your material.[6]
-
9Paint your sculpture. If you want your sculpture to be painted or colored, do so after baking. You may need to use special paints, depending on the material you chose. Painting polymer clay, for example, requires model enamel paint.[7]
-
10Mix media. You can create extra interest for your sculpture by mixing media. This can make it seem more real or add interesting color and texture to a piece. Consider things like using real fabric for clothing, or using fake or real hair instead of sculpting the hair.[8]


Subtractive Sculpture
-
1Make a sculpture sketch. Start by making a clay, wax, or other fast version of your sculpture. This will be used as a "sketch". You will take measurements from it and use those to carve the stone or other sculpting material.[9]
-
2Carve the basic form. You can take basic measurements from you sculpture and mark the stone or wood where you know it will need to be cut. For example, if you know your sculpture isn't going to be more than 14 inches (35.6 cm) high, you can cut away all material above 15 inches (38.1 cm). Leave some room for movement but certainly carve out the basic shape of your sculpture.[10]
-
3Use a pointing machine. Using a pointing machine or other measuring device, begin to measure your sculpture "sketch" and make the same locations and depths on your stone or wood.
-
4Carve in the details. Using tools appropriate for your material, begin to chip away at the material and even out the points that you made using the pointing machine.
-
5Sand down your sculpture. Using gradually finer and finer sandpaper, sand down your sculpture until it is as smooth as you want it to be.
-
6Done! Add any final extra details that you want and enjoy your sculpture.


Community Q&A
-
QuestionCan I make it out of bubble wrap?
 Community AnswerAbsolutely. Art is self-expression, so you aren't limited to standard sculpture materials. You can use whatever you want--the more original, the better.
 -
QuestionCan I use newspaper?
 Community AnswerYes; however, you'll probably want to instead use the guidelines in Create Papier Mâché.
 -
QuestionWhat kind of clay should I use?Community AnswerIt depends on how big the sculpture is going to be. If very small, consider using polymer clay. If you would rather paint it or make a larger sculpture, try using air-dry clay.
Warnings
- Be careful with all tools used in your project.⧼thumbs_response⧽
- Many materials are known to produce fumes or toxic residues. Be careful.⧼thumbs_response⧽
Things You'll Need
- Clay, cardboard, sheet metal, stone, or other sculpting material
- Tools appropriate for your sculpting material
- A design sketch, or number of sketches

References
- ↑ https://www.britannica.com/art/sculpture/Materials#ref30285
- ↑ http://www.beginnersschool.com/2015/08/26/building-an-armature-and-sculpting-a-head-in-the-round/
- ↑ https://www.figurines-sculpture.com/sculpture-technique.html
- ↑ https://www.sculpey.com/create/project/sculpey-medium-blend-how-to-sculpt-a-fantasy-gatherer-squirrel/
- ↑ https://www.sculpey.com/create/project/sculpey-medium-blend-how-to-sculpt-a-fantasy-gatherer-squirrel/
- ↑ https://www.polymerclayer.com/baking-polymer-clay.html
- ↑ https://www.sculpey.com/create/project/sculpey-medium-blend-how-to-sculpt-a-fantasy-gatherer-squirrel/
- ↑ https://www.sculpey.com/create/project/sculpey-medium-blend-how-to-sculpt-a-fantasy-gatherer-squirrel/
- ↑ https://www.figurines-sculpture.com/sculpture-technique.html
About This Article

To make a sculpture, start by making an armature, or support structure, by putting together wire, pipes, or other materials to create the “bones” of your piece. Once you're done with the armature, cover it completely with masking tape or newspaper. Add your sculpting material next, putting the larger pieces on before the smaller ones and going from larger details to smaller ones. Try using clay, wax, or even cardboard. Finally, incorporate details and texture to complete your sculpture. If you want to learn how to cure or paint your sculpture once it's finished, keep reading the article!