X
wikiHow is a “wiki,” similar to Wikipedia, which means that many of our articles are co-written by multiple authors. To create this article, volunteer authors worked to edit and improve it over time.
This article has been viewed 24,564 times.
Learn more...
Facebook has a new feature that enables you to sync your IOS’ or Android device’s photos, such as downloaded pictures, screenshots, or camera shots, to your account, privately. You can use it as a backup because once you take a photo, it will automatically upload to the “Synced from Phone” album.
Steps
Part 1
Part 1 of 3:
Enabling Syncing from Phone to Facebook
-
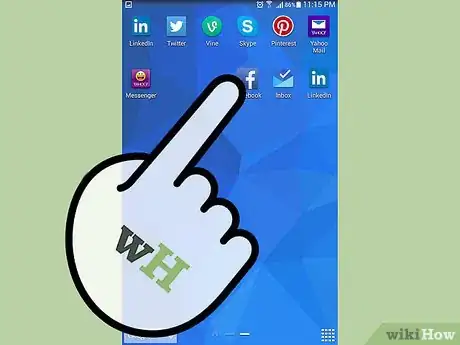
1Launch the Facebook app on your mobile. To do this, tap on the app’s icon on your home screen or app drawer.
- If you don’t have the app yet, search for it in Google Play or the App Store and download it onto your device.
-
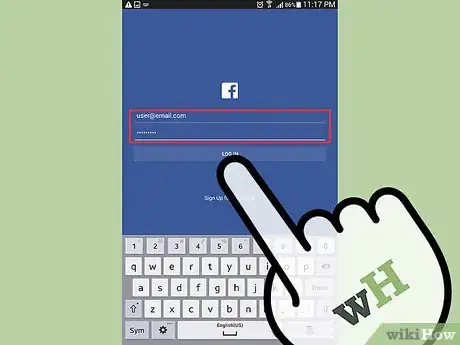
2Log into your Facebook account. On the login page, fill in your account’s e-mail and password in the boxes provided then press “Log In.”Advertisement
-
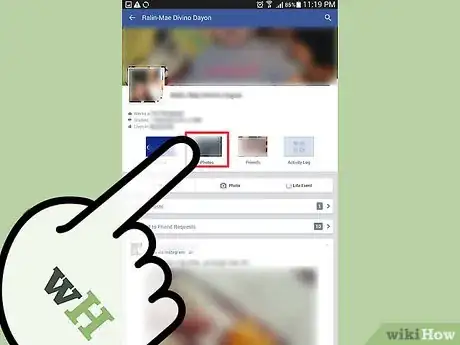
3Go to your profile. Navigate to your profile by clicking the last tab, which is a three-line symbol beside a globe symbol, then click your name.
-
4Go to Photos. The link to your Photos is at the bottom of your name, beside “About” and “Friends.”
-
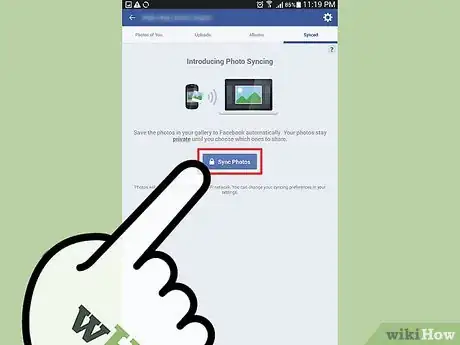
5Navigate to the Synced tab. In the Photos section of your account, you should see three tabs, which are Photos, Album, and Synced at the bottom of your screen. Tap on “Synced.”
-
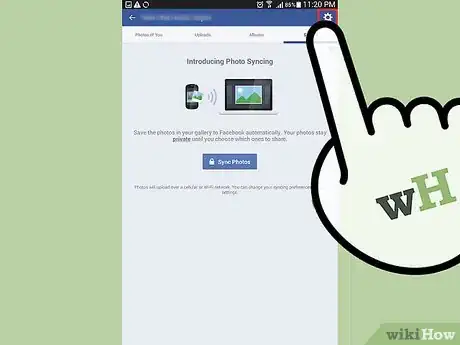
6Click the “Sync Photos” button. This will allow Facebook to sync photos from your phone.
- A message will appear saying that “Each new photo you take will be available when you log in a computer.”
- Each synced photos will be uploaded privately.
Advertisement
Part 2
Part 2 of 3:
Changing the Setting
-
1Go to “Sync setting.” To change the setting on how you want your device to sync from your phone, click the “Sync setting” button to the right of the screen.
-
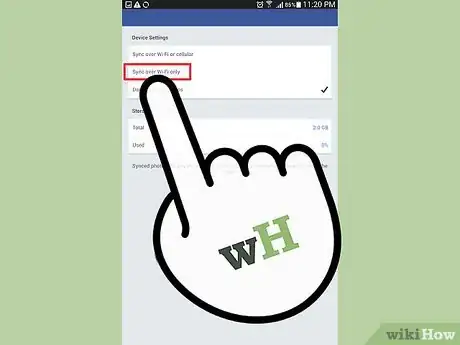
2Sync over Wi-Fi. There are 3 choices how your photos will be synced; the first is if you want to avoid any data charges from your mobile network provider when syncing your photos. Just check “Sync over Wi-Fi only” to select this option.
-
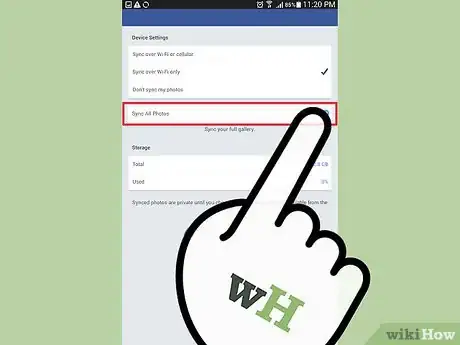
3Sync all photos. If you want to sync all the images in your phone’s gallery, tap on this option.
-
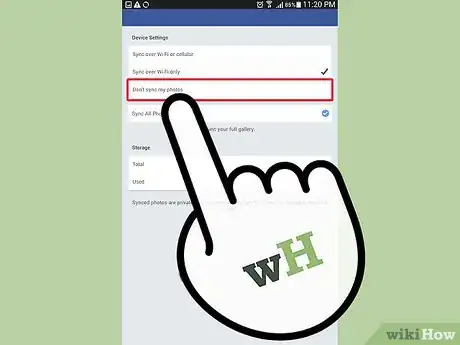
4Stop syncing. If you want to quit syncing your photos, select the “Don’t sync my photos” option.
-
5Return to the Photos section. When you’re done, tap the “Back” button of your device.
Advertisement
Part 3
Part 3 of 3:
Using Synced Photos on Your Computer
-
1Go to Facebook. On your computer, open a web browser, type in https://www.facebook.com, and hit Enter.
-
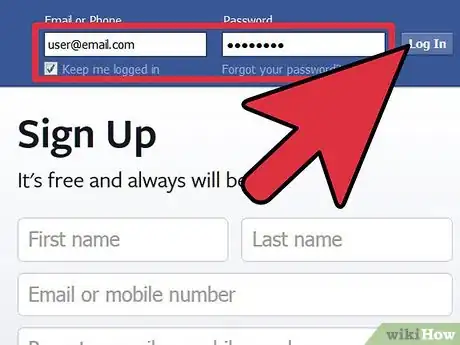
2Log into your Facebook account. On the fields provided at the top-right side of the screen, type in your email address (or username) and password, then click “Sign in” to access your account.
-
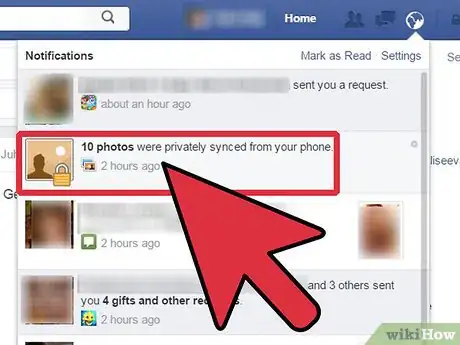
3Navigate to your notification. Facebook will start notifying you about the number of photos that has been synced from your phone. Clicking the notification will direct you to the “Synced from Phone” album.
- Your notifications can be viewed under the globe icon to the top-right of your screen.
-
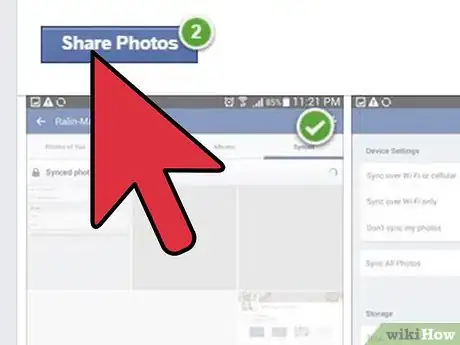
4Share the photos. Synced photos are private, but if you want to share them with your Facebook friends, you can. Just click all the synced photos you want to share then select the “Share” button.
-
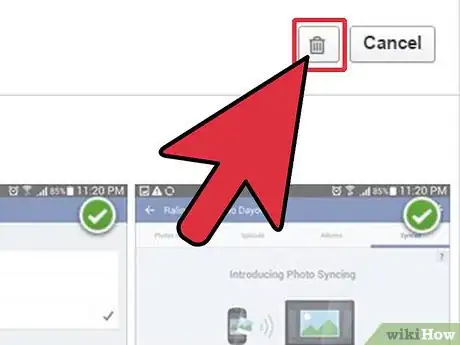
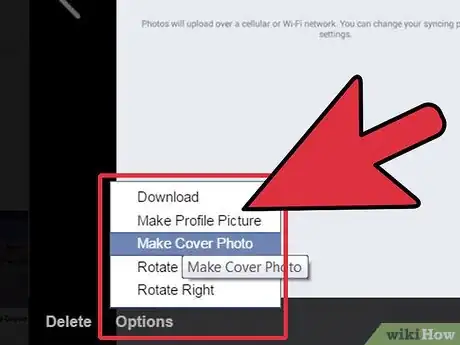
5Delete a synced photo. To delete a photo, click the photo that you want to remove from “Synced from Phone” album then click on “Delete” (located on the bottom left of the picture).
-
6View the Options to see more tools. You also have the option to download the picture, make the picture as your cover photo, use it as your profile picture, or rotate it by clicking the “Options” button.
Advertisement
About This Article
Advertisement
