wikiHow is a “wiki,” similar to Wikipedia, which means that many of our articles are co-written by multiple authors. To create this article, volunteer authors worked to edit and improve it over time.
This article has been viewed 52,367 times.
Learn more...
Many tiling jobs will require you to fit your tile neatly around electrical outlets, switch plates, faucets, piping, and other fixtures. In particular, when tiling a bathtub surround you will need to fit your tiling around the shower head, bath faucet, and any knobs for controlling the water flow. Doing this means cutting a precise, large diameter hole out of the tile; the best tool for accomplishing this task is a tile hole saw. To learn how to drill a hole in tile using a tile hole saw, consult the guide below.
Steps
-
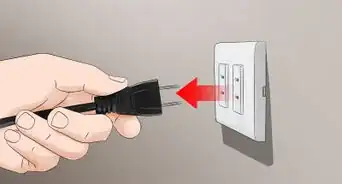
1Measure the diameter of the hole you need to cut. The best way to do this is by placing the pipe, faucet, or other fixture directly onto the tile and tracing its outline using a wax pencil. If this is not possible, you can measure the diameter of the fixture using a tape measure. Note that your cut will likely not need to be perfect, as the trim ring of the fixture will cover the cut edges of the tile.
-
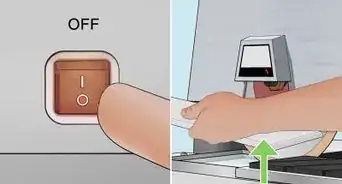
2Purchase the correct size tile hole saw. A hole saw is a circular cutting tool designed as a drill bit; hole saws are fitted into your electric drill's chuck just like any other bit. Hole saws made for cutting tile are coated with a carbide grinding surface and can be purchased at most home improvement stores. If you only need 1 size, match the diameter of the hole saw to your measurement. Otherwise, consider investing in a complete set of tile hole saws.Advertisement
-
3Make a small indentation in the tile. Drill bits, including hole saws, tend to slip very easily on a smooth ceramic tile. To avoid this, you'll need to make a small indentation in the center of your circle for the drill bit to fit into. The easiest way to do this is by positioning a nail set onto the tile and tapping it gently with a hammer.
-
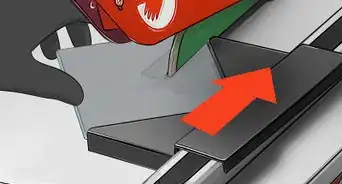
4Secure the tile to a flat work surface. To prevent the tile from spinning or slipping while you drill, you'll need to secure it. This can be done by either placing it on top of a nonslip material like rubber or neoprene, or by clamping it gently to your work surface.
-
5Begin drilling the hole in the tile. Fit your drill with the appropriately sized tile hole saw, and position the hole saw over the outline you drew in wax pencil. Run the drill and apply steady downward pressure as the cut is made. Note that stone tiles will require much more time and effort to cut through than ceramic tiles.
-
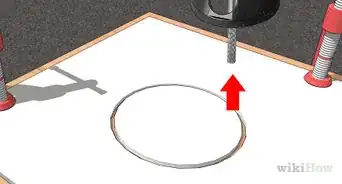
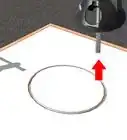
6Keep the hole saw wet as it drills. Tile hole saws must be water-cooled when in use; overheating can quickly lead to breakage in the tile and will reduce the overall life of your tool. You can purchase water rings for your hole saw, which are rubber rings that adhere to your tile and allow you to keep the hole saw surrounded by a pool of water. Two other options are continuously spraying the bit with a spray bottle of cold water, and slowly pouring water from a pitcher onto the bit when in use.
-
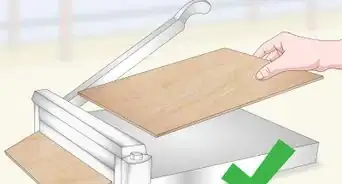
7Install the tile as usual. After the hole saw cuts all the way through the tile, stop running the drill and gently lift the bit out of the hole. The tile can now be installed just as you would any other tile.


Warnings
- Note that ceramic tiles break easily when drilled or cut into. Regardless of your skill level, it is advisable to have backup tiles on hand to account for wasted broken tiles.⧼thumbs_response⧽
Things You'll Need
- Tiles
- Wax pencil
- Tape measure
- Tile hole saw
- Electric drill
- Nail set
- Hammer
- Clamps
- Water ring (optional)
- Spray bottle or pitcher
- Water