This article was co-authored by wikiHow staff writer, Kyle Smith. Kyle Smith is a wikiHow Technology Writer, learning and sharing information about the latest technology. He has presented his research at multiple engineering conferences and is the writer and editor of hundreds of online electronics repair guides. Kyle received a BS in Industrial Engineering from Cal Poly, San Luis Obispo.
The wikiHow Tech Team also followed the article's instructions and verified that they work.
This article has been viewed 190,077 times.
Learn more...
Need to quickly move an entire column in Microsoft Excel? Luckily, it’s a pretty easy procedure. You can select, click and drag columns with your mouse. Or, use the cut and paste commands. This wikiHow article will show you how to select and move columns in Excel on Windows or Mac.
Things You Should Know
- On Windows or Mac, select the column, then click and drag the border of the selection to a new location.
- On Windows, select the column, then press Ctrl + x to cut the column. Right-click the column to the right of the new destination and select “Insert Cut Cells.”
- To move multiple adjacent columns, press Ctrl (Windows) or Cmd (macOS). Then, click the column letters above the columns you want to move.
Steps
Using the Mouse
-
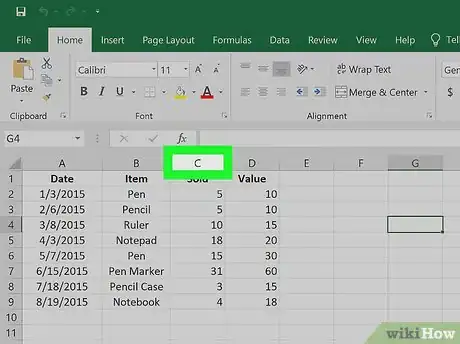
1Click the letter above the column you want to move. This selects the column. In this method, you’ll use the mouse to drag the column to a new position. This works on Windows and macOS.
- This method only works for a single column. To move multiple columns, use cut and paste commands (see next method).
- Moving columns is a great way to set up your spreadsheet for a Vlookup or Sum formula.
- For general spreadsheet tips, check out our guide on making a spreadsheet in Excel.
-
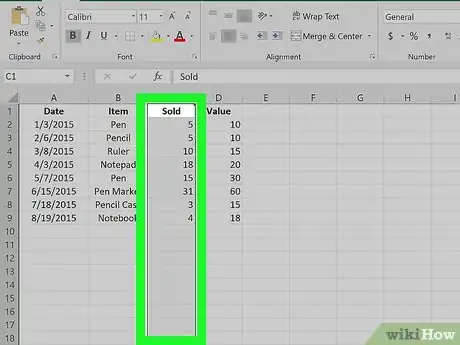
2Hover the mouse over the border of the selected column. The cursor will turn into four arrows (Windows) or a hand (macOS).[1]
- The cursor will turn into a hand in the web app version of Excel.
Advertisement -
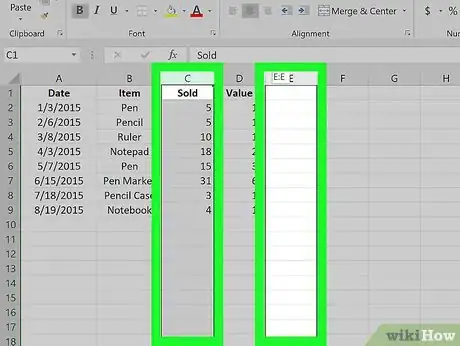
3Drag the column to the desired location. Click and drag the selected column to the location where you want to move it, and then release the mouse button. This will cut and replace the column.
- If you want to copy and replace columns instead of just moving them, hold down Ctrl (Windows) or ⌥ Option (macOS) while dragging and dropping.
- Holding ⇧ Shift will cut and insert the columns.
- Holding Ctrl+⇧ Shift will copy and insert the columns.
Using Commands
-
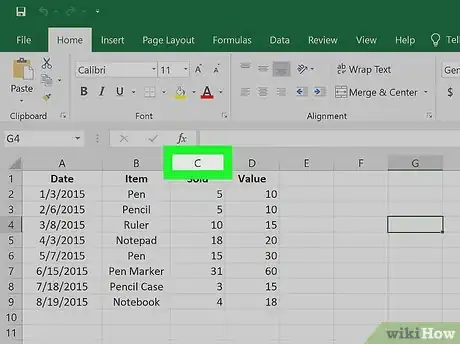
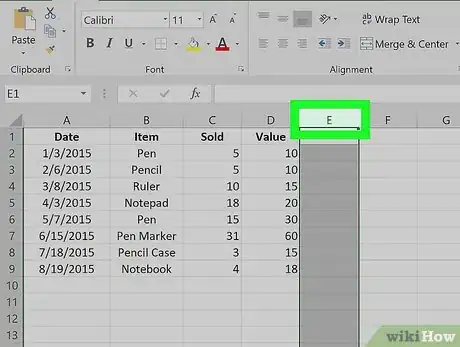
1Click the letter above the column you want to move. This selects the column. The commands method only works on the Windows version of Excel.
- To move more than one (adjacent) column at the same time, hold down Ctrl as you click each column letter.
- Formatting your spreadsheet can significantly improve your Excel experience.
-
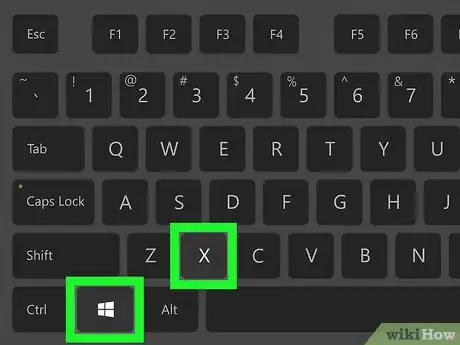
2Press Ctrl+X. This “cuts” the data in the column, which really just selects it and adds it to the clipboard.
- The column data will remain in its place until you paste it into its new location.
- You can also cut the column by clicking the scissors icon on the Home tab. It’s in the “Clipboard” section near the top-left corner of the app.
- If you cut the wrong column, press Esc to return the data to its original location.
-
3Right-click the letter above the column to the right of where you want to move the data. A drop-down menu will open.
- When you insert your copied data, it'll be to the left of the column you right-click.
-
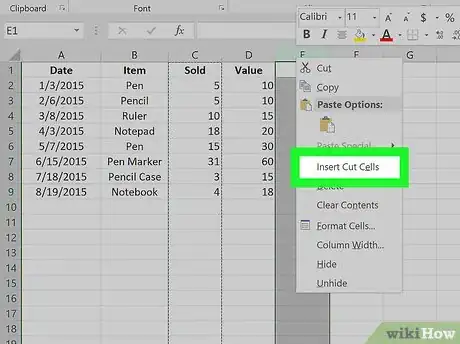
4Click Insert Cut Cells on the right-click menu. Excel will insert the cut column to the left of the one on which you right-clicked.
- If you want to undo the pasted column, press Ctrl+Z.
- Alternatively, you can click the drop-down icon next to the Insert button on the Home toolbar at the top, and select Insert Cut Cells or Insert Cells here. This will insert and move your data the same way.
Expert Q&A
-
Questioncolumns a and b suddenly disappeared from excel. how to retrieve?
 Kyle SmithKyle Smith is a wikiHow Technology Writer, learning and sharing information about the latest technology. He has presented his research at multiple engineering conferences and is the writer and editor of hundreds of online electronics repair guides. Kyle received a BS in Industrial Engineering from Cal Poly, San Luis Obispo.
wikiHow Technology Writer The columns might be hidden! Try selecting the adjacent column (c) and right-clicking that column. Select Unhide from the pop-up menu.
 -
Questionsee column B and K at the same time
 Kyle SmithKyle Smith is a wikiHow Technology Writer, learning and sharing information about the latest technology. He has presented his research at multiple engineering conferences and is the writer and editor of hundreds of online electronics repair guides. Kyle received a BS in Industrial Engineering from Cal Poly, San Luis Obispo.
wikiHow Technology Writer There are a few ways to go about this! You can freeze columns A and B to keep them on the screen at all times. Alternatively, hide some or all columns between B and K so that they're closer together. You could also move column K next to B using this guide's method above.
References
About This Article
1. Click the column letter.
2. Hover the mouse over the selection's edge until the cursor changes.
3. Click and drag the column to a different location.
