This article was written by Katie Double. Katie Double is a Technology Writer and Editor for wikiHow. She has over five years of experience in technical support, IT process analysis, and quantitative research. Katie loves exploring the application of various technological tools, from data analysis and visualization to music production and performance. Though originally from Denver, Colorado, she currently resides in New Zealand. She has a BA in Psychology from the University of Colorado Boulder.
This article has been viewed 61,914 times.
This wikiHow teaches you how to set the date and time on a Fitbit. The date and time comes automatically from your detected time zone on the app, but you can turn off the automatic settings and manually select a time zone. You can also designate a time zone in the web dashboard.
Steps
Using the Fitbit Mobile App
-
1Launch Fitbit on your Android, iPhone, or iPad. Look for the teal icon with white dots on your home screen or in the app drawer.
-
2Tap Today. This is a tab at the bottom.Advertisement
-
3Tap your profile picture. This is in the top left.
-
4Tap Advanced Settings. Scroll down to the bottom to find it.
-
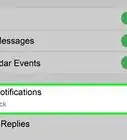
5
-
6Tap Time Zone and select your time zone. Scroll through the list to find it, and tap to choose it.
-
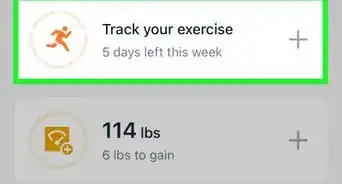
7Sync your Fitbit. Tap the back arrow, tap your Fitbit, then tap the sync icon next to "Sync now"[1] .


Using the Web Dashboard
-
1Go to https://www.fitbit.com/ on your computer, phone, or tablet. Use any browser, such as Google Chrome, Firefox, or Safari.
-
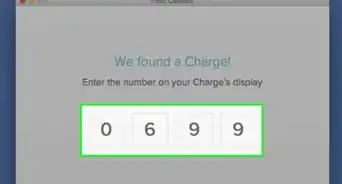
2Click Log in from the top right and sign in. Enter your email and password associated with your Fitbit account, or sign in with Facebook or Google if you have set this up already.
-
3
-
4Click Settings. This will take you to your account settings.
-
5Click Personal Info. This is the option at the top, with a person icon.
-
6Click on the TimeZone drop-down. This is further down on the screen, in the Advanced Settings section.
-
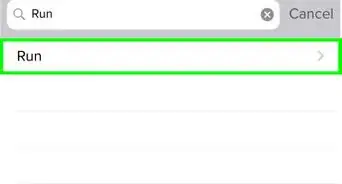
7Select your time zone. Scroll through the list to find your time zone, then click to select it.
- Time zones offset by half an hour are not available.
-
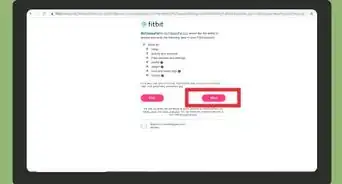
8Click Submit. This is a blue button at the bottom.
-
9


Using the Windows 10 App
-
1Launch Fitbit on your Android, iPhone, or iPad. Look for the teal icon with white dots on your home screen or in the app drawer.
-
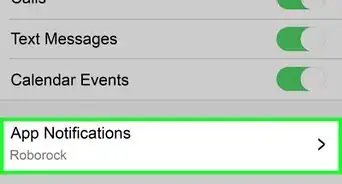
2Click on the Account icon, which looks like 3 lines. This is at the top of the Fitbit dashboard.
-
3Click Advanced Settings. This is indicated with a gear icon.
-
4Tap Time Zone.
-
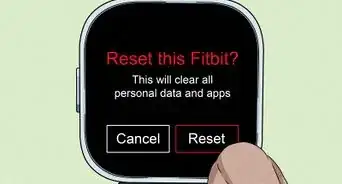
5Turn off the switch next to "Auto". This allows you to choose a time zone rather than letting Fitbit detect for you based on your location.
-
6Select your time zone. Scroll through the list to find your time zone, then click to select it.
- Time zones offset by half an hour are not available.
-
7Click Submit. This is a blue button at the bottom.
-
8


About This Article
1. Launch the Fitbit app.
2. Tap Today.
3. Tap your profile picture.
4. Tap Advanced Settings.
5. Turn off the automatic time zone setting.
6. Set a time zone in the drop-down.