wikiHow is a “wiki,” similar to Wikipedia, which means that many of our articles are co-written by multiple authors. To create this article, 14 people, some anonymous, worked to edit and improve it over time.
This article has been viewed 96,810 times.
Learn more...
Software updates on Kindle Fire are quite easy to do. It is important for you to frequently update your Kindle Fire because it can improve stability and add security features. If you are connected to a Wi-Fi network, you are ready to update your Kindle Fire.
Steps
Connecting to the Internet
-
1Make sure the Kindle Fire is fully charged. To charge your Kindle fire, simply connect your charger to a power outlet, and then connect the other end to your Kindle Fire.
-
2Connect to a Wi-Fi connection. A connection is required to update software. Tap on the "Settings" icon at the top-right corner of the home screen.Advertisement
-
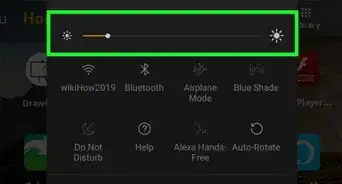
3Select Wi-Fi. Toggle the Wireless Network switch on. A window where all networks available will appear.
-
4Select the name of the network you are going to use. Enter password of the network if required.
- If no password is required, you'll be automatically connected to the Internet.


Updating Kindle Fire
-
1Head to "Settings." Tap on the "Settings" icon at the top-right corner of the home screen.
-
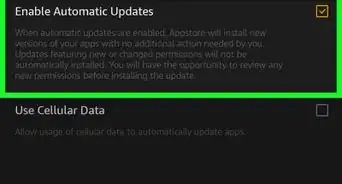
2Select "Sync." Any updates will be automatically downloaded in the background.
- Once download is complete, the update will be automatically applied.
- You can also update your Kindle Fire manually, see the following steps to do so.
-
3Visit the software updates website. Navigate to http://www.amazon.com/gp/help/customer/display.html?nodeId=200790620.
-
4Download your software. Locate the download link and click on it. Follow the prompts to fully download the software.
-
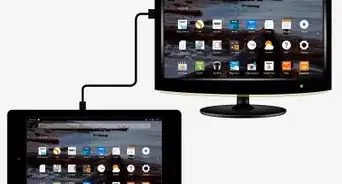
5Connect your Kindle Fire to your computer. Make sure your Kindle Fire is on and unlocked. Use a USB cable - the one that came with it - to plug the device into your computer.
-
6Transfer the software update. Open the Kindle Fire drive, titled Kindle. Locate the software update file, and drag and drop it into the kindleupdates folder.
-
7Disconnect your Kindle Fire. Once the transfer is complete, tap Disconnect on the screen of your Kindle Fire. You can now disconnect the USB cable from your device.
-
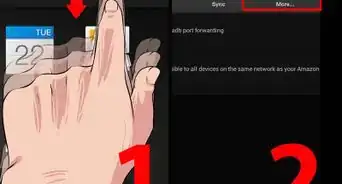
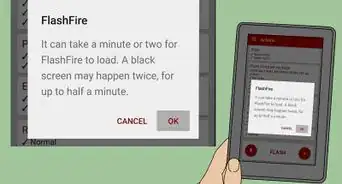
8Update your kindle. Navigate to Quick Settings and tap More. Tap on Device, then tap on Update Your Kindle. Let the software update run its course.


Community Q&A
-
QuestionMy Kindle Fire will not let me update the only two games on it because it says my storage is almost full. I have nothing else but email on it. What can I do?
 Isabel CopseyCommunity AnswerTry deleting some photos, and clearing the files; they can often contain some data from uninstalled apps.
 -
QuestionWhere is the menu on a Kindle Fire?
 Andie KoontzCommunity AnswerSwipe from the bottom and click the Home button.
 -
QuestionPinterest update failed on my Kindle Fire. Now I can't access Pinterest. The app just queues, installs, and fails.Andie KoontzCommunity AnswerTry deleting the app altogether, then redownload it. The update should be on it.


About This Article
To update your Kindle Fire, start by making sure your device is fully charged and connected to the internet. Then, tap "Settings" in the top right-hand corner of the screen and select "Sync," which will automatically begin downloading the updates. If you want to update your Kindle manually, go to "Quick Settings" and tap on "More." Next, pick "Device" before going to "Update Your Kindle." For tips on how to connect your Kindle to a wireless network, keep reading!