This article was co-authored by wikiHow staff writer, Jack Lloyd. Jack Lloyd is a Technology Writer and Editor for wikiHow. He has over two years of experience writing and editing technology-related articles. He is technology enthusiast and an English teacher.
This article has been viewed 728,128 times.
Learn more...
This wikiHow examines several ways to find the file size (e.g., number of megabytes) of a photo on an iOS device.
Steps
Using the Photos App (iOS 15 or later)
-
1Open the Photos app. It has an icon with a white background and a multicolored flower in it.
-
2Open the photo that you want to view the file size for.Advertisement
-
3Tap the blue “i” icon on the screen. This will show an information pane about the photo.
-
4Look for the file size of the image. This is in the “camera info” part of the information pane.


Using the Photo Investigator App
-
1Open the App Store. Do so by tapping the blue "App Store" icon on one of your Home screens.
-
2Tap Search. This is on the bottom of your screen.
-
3Tap the search bar. It's at the top of your screen.
-
4Type "Photo Investigator" into the search field.
-
5Tap the "photo investigator" option. It should be the first result in the drop-down menu.
-
6Tap GET. This should be to the right of the "Photo Investigator: View, Edit, Remove Metadata" heading.
-
7Tap INSTALL.
-
8Enter your Apple ID and password. Your download should commence.
-
9Open the Photo Investigator app. It should be visible on one of your Home screens.
-
10Tap the photo icon. This is in the bottom left corner of your screen.
-
11Tap OK. This will allow Photo Investigator access to your photos.
-
12Tap All Photos. You can also tap a specific album on this page.
-
13Select a photo.
-
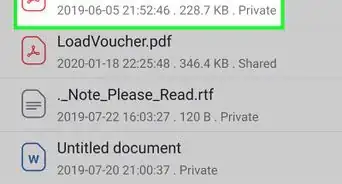
14Review the "File Size" value. This should be on the default Photo Investigator tab that's open below your photo.
- This value will likely be measured in megabytes (MB).


Using a Computer
-
1Connect your iOS device to your computer. Use the USB cable that came with the device.
-
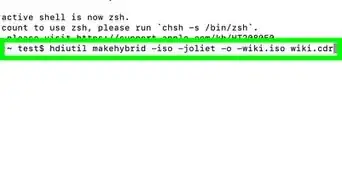
2Open your iOS device on your computer. The process varies a little depending on whether you're using Windows or Mac:
- Windows - Double-click "My Computer", then double-click the iOS device in the "Devices and Drives" section.
- Mac - Double-click the iOS device icon that appears on your desktop.
-
3Double-click the "DCIM" folder.
-
4Find the image that you want to check.
-
5Open the details for the image file. Once you've found the image, you can open a new window displaying information about it.
- Windows - Right-click on the image, then click Properties.
- Mac - Select the image, hold down Command, and tap I.
-
6Review the photo's size. You should be able to see the easy-to-read size (e.g. 1.67 MB) as well as the actual exact size (e.g. 1,671,780 bytes).
- The photo's size should be next to a heading that says "Size" or "File Size."


Using the Mail App
-
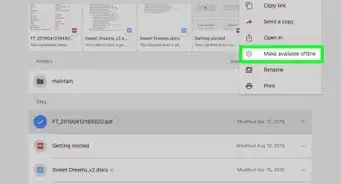
1Open the Photos app. While you can't actually check the size of the photo in the Photos app, you can add it to an email message to check the approximate size. You won't actually need to send an email to do so.
-
2Tap Albums. This is in the bottom right corner of the screen.
-
3Tap Camera Roll. You can also tap a different album on this screen if you'd like to narrow your results.
-
4Select a photo.
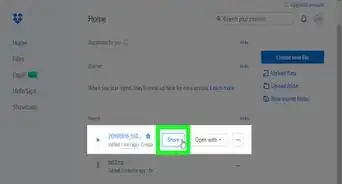
-
5Tap the "Share" button. It resembles a box with an arrow coming out of the top in the bottom left corner of your screen.
-
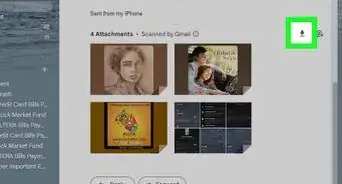
6Tap Mail. This will open a new mail message with the image attached.
-
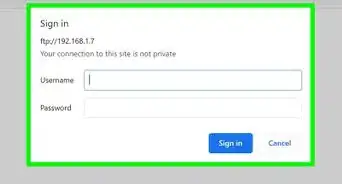
7Tap the "To" field.
-
8Type in your own email address.
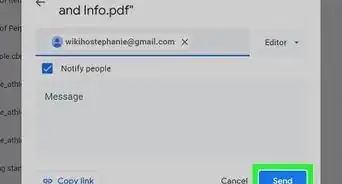
-
9Tap Send. You will be prompted to select the size of your photo.
- If you didn't add a subject to your email, you'll have to confirm that you want to send the email without a subject before continuing.
-
10Review the "Actual Size" value. This should be at the bottom of the page--the Actual Size value will tell you the approximate size of your selected photo.
- If you selected multiple photos, you'll only see their total size (not a photo-by-photo breakdown).


Using a Jailbroken iOS Device
This method only works for jailbroken devices, and allows you to see photo data directly from the Photos app. Jailbreaking can be a tricky process, and will void your warranty.
-
1Open Cydia on your jailbroken device. You can use Cydia to install a special tweak to your Photos app that will allow you to view detailed information for your photos.
-
2Tap Search. This is in the bottom right corner of your screen.
-
3Type "Photo Info" into the search field.
-
4Tap Photo Info.
-
5Tap Install. This is in the top right corner of your screen.
-
6Tap Confirm. Cydia will download and install the tweak.
-
7Tap Restart SpringBoard. Doing so will restart your system to finalize the tweak's installation.
-
8Select a photo from your Photos app.
-
9Tap ⓘ. This should be at the bottom of the screen.
-
10Review the "File Size" entry. This value will appear at the bottom of your screen. Now you know the file size of your selected photos.


Warnings
- Jailbreaking your iPhone is not recommended from a liability standpoint.⧼thumbs_response⧽


About This Article
1. Download the Photo Investigator app from the iOS App Store.
2. Open the Photo Investigator app.
3. Tap the photo icon in the bottom left corner of the screen.
4. Tap OK to allow Photo Investigator access to your photos.
5. Tap All Photos.
6. Select a photo, then look at the File Size value at the bottom of the screen.