This article was co-authored by Ez's Painting LLC and by wikiHow staff writer, Devin McSween. Ez's Painting LLC is a team of Painting Professionals based in Olympia, Washington. With more than twelve years of experience, the EZ's Painting team specializes in both commercial and residential painting projects. Ez's Painting LLC holds a contractor license in the state of Washington.
There are 13 references cited in this article, which can be found at the bottom of the page.
This article has been viewed 2,263 times.
If you’re tired of the simple, cookie-cutter look of your Ikea furniture, it’s easy to prep and paint your pieces for a new look or a pop of color! Most Ikea furniture is laminate, or made of particleboard that’s covered in a glossy, plastic coating, that requires a few simple steps to prepare. In this article, we’ll tell you how to paint your laminate Ikea furniture, as well as how to paint your pieces that are made of solid wood and metal. Let’s get started!
Things You Should Know
- Paint laminate furniture by sanding it and using a shellac-based primer. Seal it with a water-based poly-sealant to protect the paint.
- Sand solid wood furniture before painting. Primer and sealant are optional, but will help your paint stick.
- Remove rust and debris on metal furniture with a wire brush. Prime it with an oil-based primer and paint it with oil-based paint.
Steps
Laminate Furniture
-
1Disassemble your piece of furniture. It is easier to paint your Ikea furniture when it is in pieces. Be sure to remove all knobs, hinges, bolts, or other hardware that will get in your way.[1]
- You can paint your furniture already assembled. However, it is typically harder to get an even, streak free coat.
-
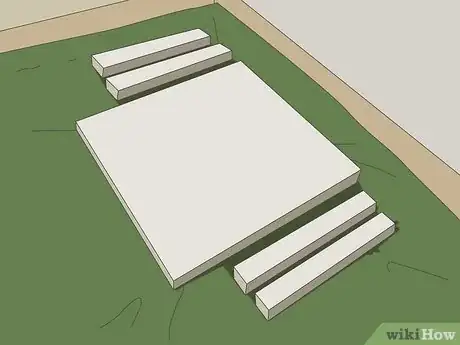
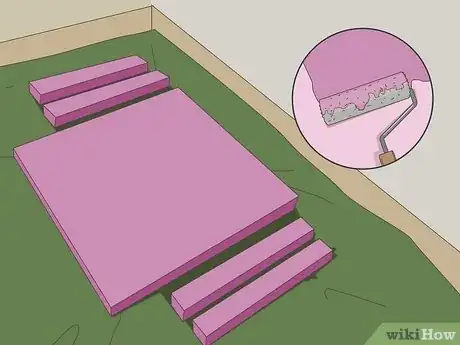
2Lay out each furniture piece on a tarp. In a well-ventilated room, cover your floor with tarp or a drop cloth to protect your floor from debris and paint. Set out each furniture piece on the tarp so that it is flat to make sanding, priming, and painting easier.[2]Advertisement
-
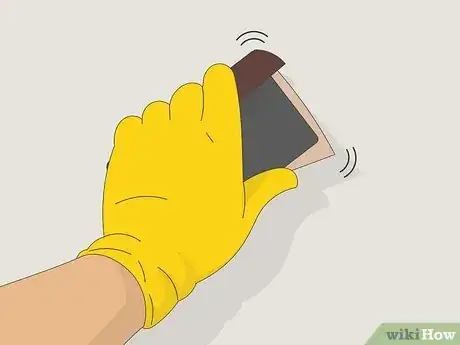
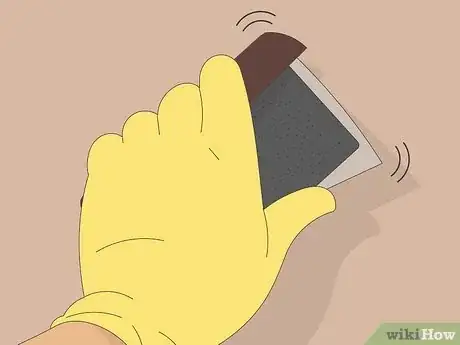
3Sand your furniture with 120 grit sandpaper. Rub 120 grit sandpaper into every surface that you’ll be painting on your furniture. Sand the surface until it is noticeably roughed up; this rough surface helps the paint stick to the furniture.[3]
- You can sand your furniture by hand, or use an electrical sander.
-
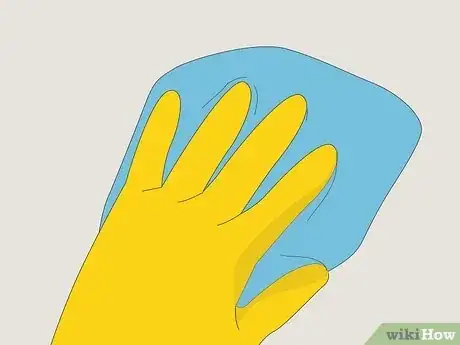
4Clean each piece of furniture with a dry cloth. With a dry cloth, wipe down each surface that you sanded. You want to remove any dirt, debris, or dust before applying primer and paint to the furniture.[4]
-
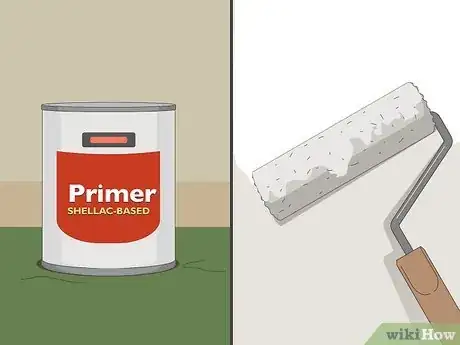
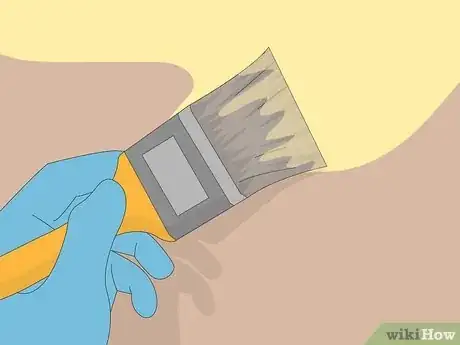
5Apply a coat of shellac-based primer to each piece of furniture. With a paint roller or brush, cover each piece with a shellac-based primer. This heavy-duty primer is great for laminate furniture and helps paint stick. Allow the primer to dry, which typically takes 45 minutes to an hour.[5]
- Most furniture pieces only need 1 coat of primer. If you notice any areas missing the primer, go back over those spots.
- To help your paint stick even better, lightly sand over the dried primer. Be sure not to sand too hard and remove the white tinge of the primer.
-
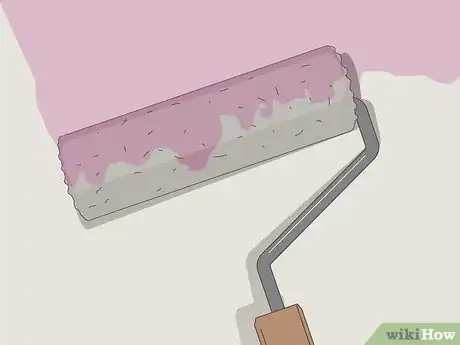
6Apply your first coat of paint to each piece of furniture. Dip a paint roller or brush into the paint color of your choice and apply a thin layer. Use short strokes that go in the same direction for an even coat.[6]
- Your first coat of paint will likely look streaky and uneven, which is completely normal.
- It is important to apply a thin base layer of paint at first so that your second coat applies evenly.
- If you are painting every surface on the piece of furniture, paint the top and sides first. Let them dry, then flip it over to paint the bottom.
- Most experts recommend using an eggshell or gloss paint finish because it is tougher than other finishes.
-
7Let your first coat dry, then apply a second layer of paint. Allow the first coat of paint to dry for the recommended amount of time stated on the can. Once fully dry to the touch, use your roller or brush to add a second, thin layer of paint to your furniture pieces.[7]
- If your furniture pieces are still uneven or streaky after a 2nd coat, apply a 3rd layer of paint. Make sure your 2nd coat is fully dry before painting over it again.
-
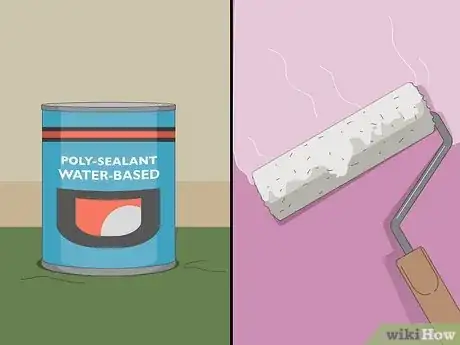
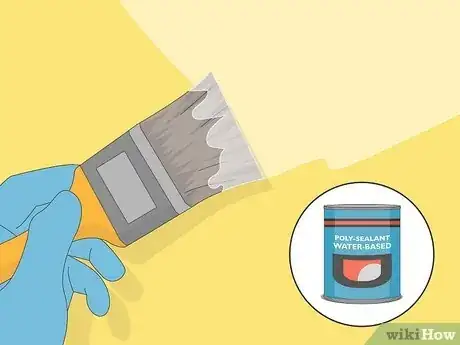
8Apply a sealant to your furniture once your last coat of paint is dry. After letting your last coat of paint dry for several hours, add on a layer of water-based poly-sealant. Paint the sealer on with a paint roller or brush for an even coat.[8]
- A water-based polyurethane sealant also works well for laminate furniture.
-
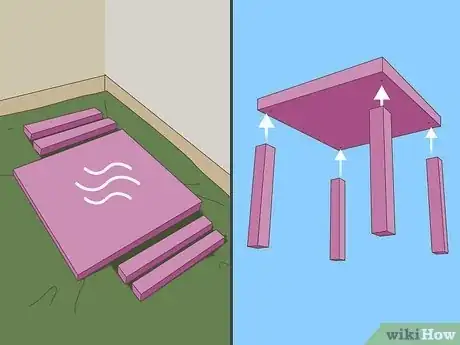
9Allow your furniture pieces to cure for several days before assembling. Your furniture pieces need to dry fully for about a week before you put everything back together. While the paint will feel dry after several hours, it might chip or smudge if you assemble the pieces and start decorating before it's fully dried.[9]
Wood Furniture
-
1Take apart your furniture. Disassembling the piece of furniture makes it easier to paint every nook and cranny. Make sure to remove any knobs, pulls, or other hardware to ensure that every inch gets painted.[10]
-
2Set your furniture pieces on a tarp. To protect your floors and make painting easier, lay out each piece of furniture on a tarp or drop cloth. Make sure to choose an area that gets good ventilation.[11]
-
3Use a 120 grit sandpaper to roughen up your surfaces for painting. Rub each surface you’ll be painting with 120 grit sandpaper.[12] Each surface should be lightly roughened up so that your paint will stick to the wood better.
-
4Clean off any dust or debris with a towel. Using a damp towel, wipe the surfaces that you sanded. You want your wood to be free of any dirt, dust, or debris before coating it with paint.[13]
- Use a paintbrush to dust away debris from the furniture’s crevices and grooves.
-
5Coat your furniture with a layer of shellac-based primer. While wood doesn’t always need a primer, it never hurts to add one to help your paint stick even better. Using a paint roller or brush, apply a layer of shellac-based primer. Let the primer dry before moving on to paint.[14]
-
6Apply a thin layer of paint. Coat a paint roller or brush with the paint of your choice and apply it with even brush strokes, going in the same direction as the wood grain.[15]
- The wood grain is the lines and patterns that wood makes. Most wood grain moves horizontally or lengthwise across the piece of furniture.
- Work in sections when you’re painting all sides of a piece of furniture. You can start with the top and sides first, let them dry, then paint the bottom.
-
7Add a second coat of paint once the first layer is dry. Allow the first coat of paint to dry for several hours, or the recommended time stated on your can of paint. When it's dry to the touch, apply a second, thin layer of paint to your furniture pieces.[16]
- If your first layer of paint dried rough, you can lightly sand it to smooth over any bumps or ridges.
-
8Finish your piece of furniture off with a water-based poly-sealant. Like the primer, sealing your wood furniture is optional, but it does protect your piece of furniture from potential chipping. Choose a water-based poly-sealant and use a brush to apply it to your furniture. Make sure every inch is covered with the sealant.[17]
-
9Let your furniture dry overnight before assembling. Give your furniture time to cure, or for the paint to dry and be less susceptible to dings and scratches. This usually takes at least a day, but you can wait several days to be safe.[18]
Metal Furniture
-
1Set up your painting area. Lay down a tarp or drop cloth on your floor and set your piece of furniture on top. Pick an area that gets good ventilation, as you want to limit the paint fumes you’re inhaling.[19]
-
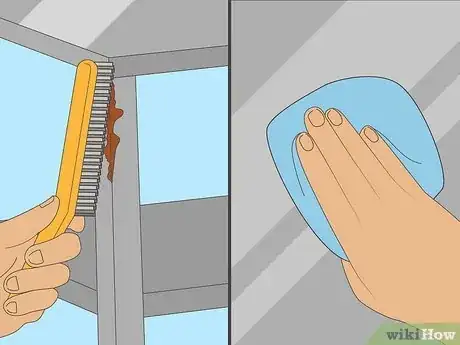
2Remove any rust or chipping paint with a wire brush. If your piece of metal furniture is already painted or you keep it outside, you want to clean it before you paint. With a metal wire brush, scrub off any rusting areas or chipped paint. Wipe the furniture down with a cloth to remove any leftover debris.[20]
-
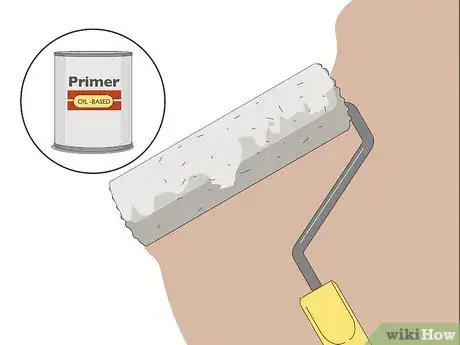
3Add a layer of oil-based primer. Choose an oil-based primer, which typically works best for metal furniture. Dip a paint roller or brush into the primer and apply a thin coat to your furniture. Let the primer dry for the recommended time on the can.[21]
- For metal furniture, you can also choose to use a spray-on primer. Just make sure that it is also oil-based for the best results.
-
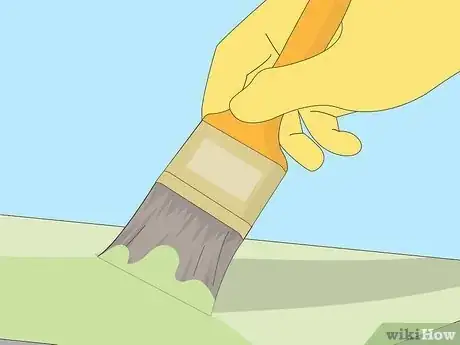
4Apply a coat of oil-based paint. Oil-based paints usually adhere better to metal furniture and are more durable compared to other paint types. Use a brush or paint roller and apply a thin coat of paint to your furniture using long, even strokes.[22]
- While extra durable, oil-based paints can take up to 24 hours to dry.
- You can also use spray paint to cover your furniture, which is usually faster to paint with because it dries quicker.
-
5Add a second layer of paint once your first coat is dry. Your furniture still might be streaky and uneven after one coat, so apply a second once the paint is dry to the touch. Make sure to apply the paint in the same direction as your first coat.[23]
-
6Allow your furniture to cure for several days before using. The paint needs to fully dry so that your fresh coats aren’t smudged, chipped, or scratched. Set your metal furniture somewhere it won’t get damaged for 2 to 3 days before arranging it in your home.[24]
Things You’ll Need
Laminate Furniture
- Tarp or drop cloth
- Sandpaper
- Paint roller or paint brush
- Shellac-based primer
- Paint
- Water-based poly-sealant
Wood Furniture
- Tarp or drop cloth
- Sandpaper
- Paint roller or paint brush
- Shellac-based primer
- Paint
- Water-based poly-sealant
Metal Furniture
- Tarp or drop cloth
- Wire brush
- Paint roller or paint brush
- Oil-based primer
- Oil-based paint or spray paint
References
- ↑ https://homedecorbliss.com/how-to-paint-ikea-furniture-without-sanding/
- ↑ https://www.dreamalittlebigger.com/post/paint-furniture-like-a-pro.html
- ↑ https://homeli.co.uk/how-to-paint-ikea-furniture-including-expedit-lack-and-malm/
- ↑ https://www.youtube.com/watch?v=6Zi6MUSTV3E
- ↑ https://homeli.co.uk/how-to-paint-ikea-furniture-including-expedit-lack-and-malm/
- ↑ https://homeli.co.uk/how-to-paint-ikea-furniture-including-expedit-lack-and-malm/
- ↑ https://homeli.co.uk/how-to-paint-ikea-furniture-including-expedit-lack-and-malm/
- ↑ https://homedecorbliss.com/how-to-paint-ikea-furniture-without-sanding/
- ↑ https://homedecorbliss.com/how-to-paint-ikea-furniture-without-sanding/
- ↑ https://homedecorbliss.com/how-to-paint-ikea-furniture-without-sanding/
- ↑ https://www.dreamalittlebigger.com/post/paint-furniture-like-a-pro.html
- ↑ https://www.youtube.com/watch?v=AX2nFllSUAc
- ↑ https://www.idealhome.co.uk/diy/how-to-paint-ikea-furniture-a-step-by-step-guide
- ↑ https://www.idealhome.co.uk/diy/how-to-paint-ikea-furniture-a-step-by-step-guide
- ↑ https://www.idealhome.co.uk/diy/how-to-paint-ikea-furniture-a-step-by-step-guide
- ↑ https://www.youtube.com/watch?v=ibcuZaHC3m4
- ↑ https://www.youtube.com/watch?v=Idxn40JXItM
- ↑ https://www.youtube.com/watch?v=c7G5rdS04SE
- ↑ https://www.dreamalittlebigger.com/post/paint-furniture-like-a-pro.html
- ↑ https://www.youtube.com/watch?v=aZzTN2aUyQw
- ↑ https://www.youtube.com/watch?v=8JxHFDUtSHI
- ↑ https://craft-art.com/what-kind-of-paint-to-use-on-metal/
- ↑ https://www.youtube.com/watch?v=8JxHFDUtSHI
- ↑ https://www.angi.com/articles/best-way-paint-metal-surfaces.htm

